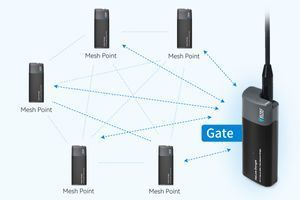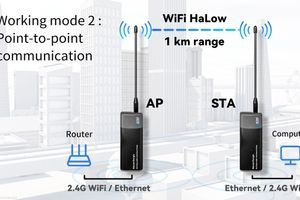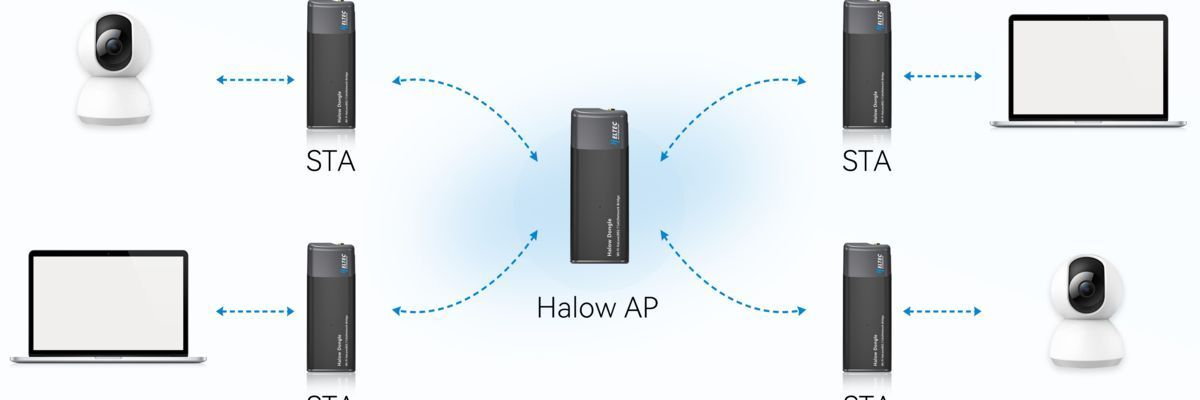
Any HD01 device can be configured as either AP or STA mode, enabling peer-to-peer or point-to-multipoint networking.
This section provides step-by-step instructions for configuring an HD01 in AP mode.
- Unplug the Ethernet cable first, then power on the device. The device's indicator light will turn red at this point, and you will need to wait approximately 1-2 minutes for the device to boot up.
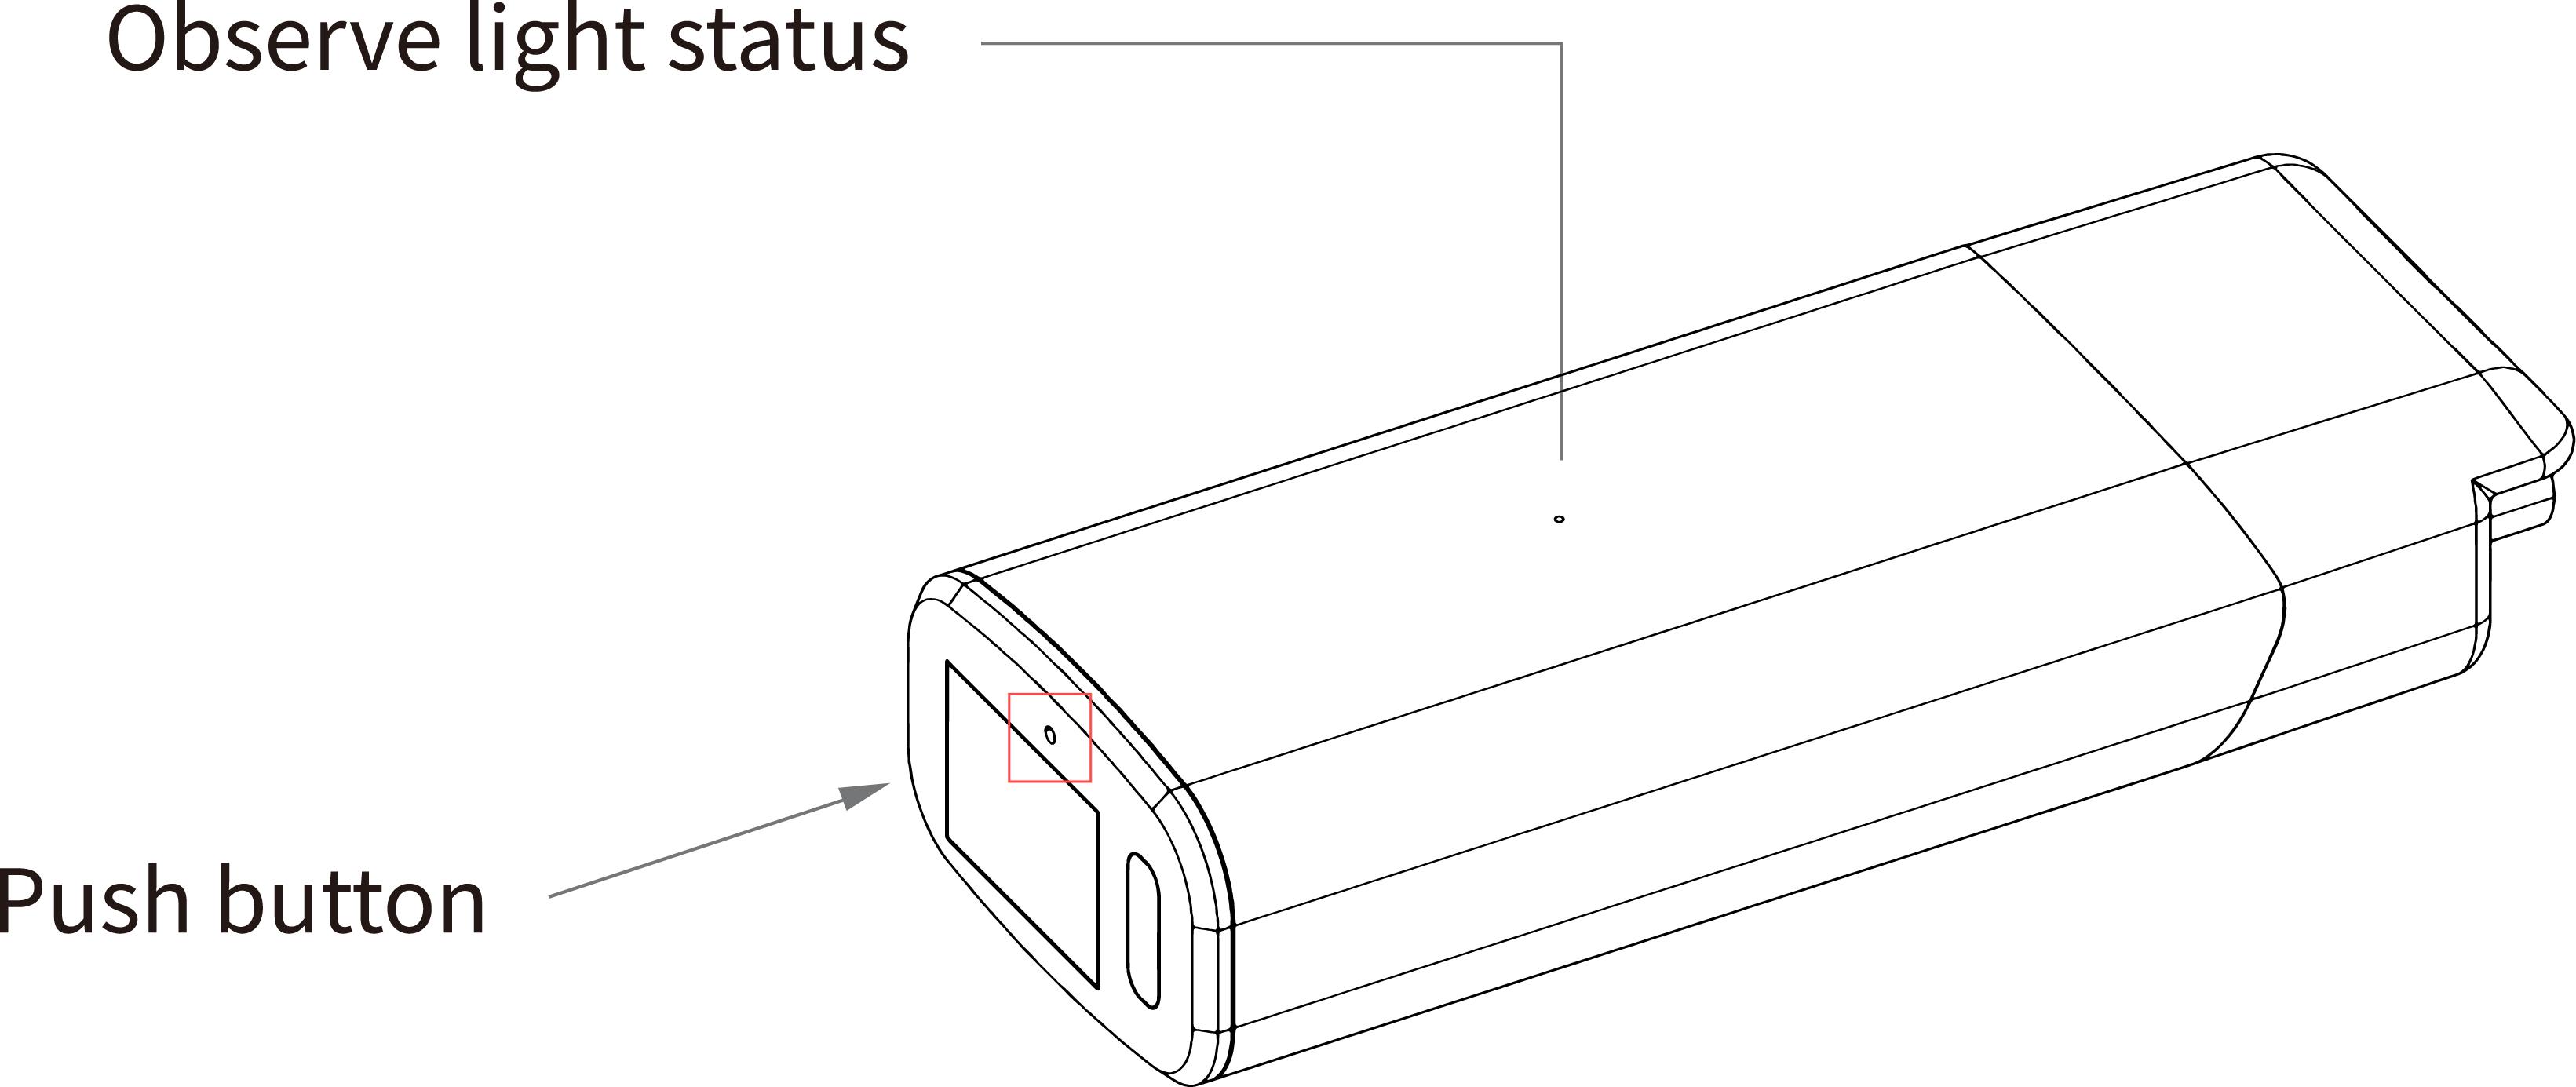
- After the device has started, use a pin to press and hold the device button for three seconds until the indicator turns yellow, then release the pin. The indicator light will start flashing alternately between yellow and green/blue, indicating that the device has entered configuration mode. Tip: If the device is already showing alternating yellow and green/blue flashing lights after booting, skip this step and proceed directly to the next one.
- Locate the device's Wi-Fi network and connect to it. The network name is HT-HD01-XXXX, and the default password is heltec.org.
- Once connected to the Wi-Fi, open a browser and navigate to the configuration IP for HD01: 10.42.0.1. The default username is root, and the default password is heltec.org. Tip: If you cannot access the IP address:
- Try reconnecting to the Wi-Fi.
- Check if you forgot to unplug the Ethernet cable. If it is still connected, unplug it, and then reconnect the power.
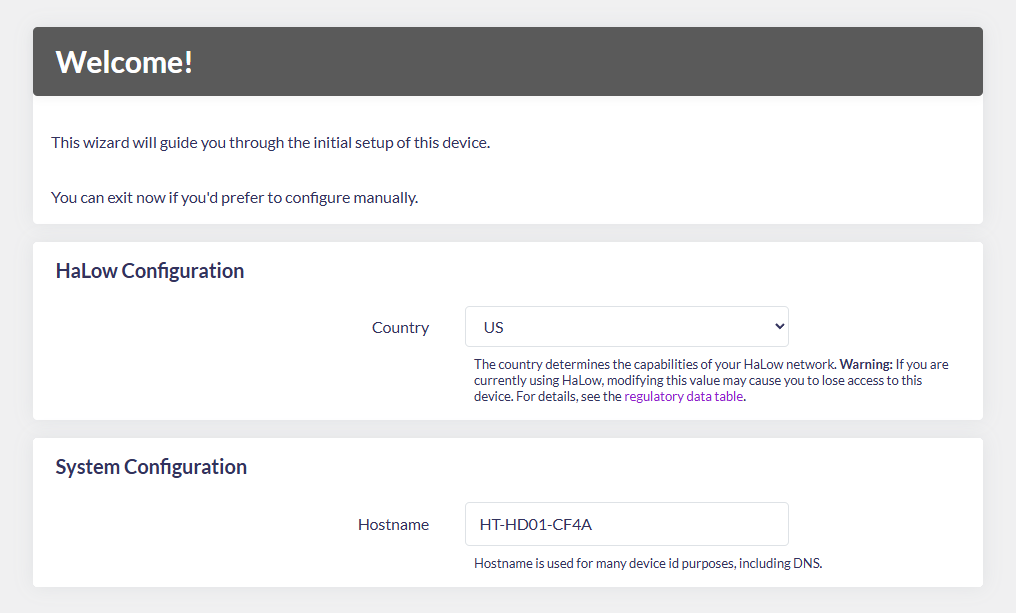
- On the configuration page, the following parameters must be set:
- Country — only devices with the same Country/Frequency setting can communicate with each other.
- Hostname — refers to the device's name on the network, such as its name on the upstream router.
- For AP-STA Mode, select "Standard WiFi HaLow", then click
next.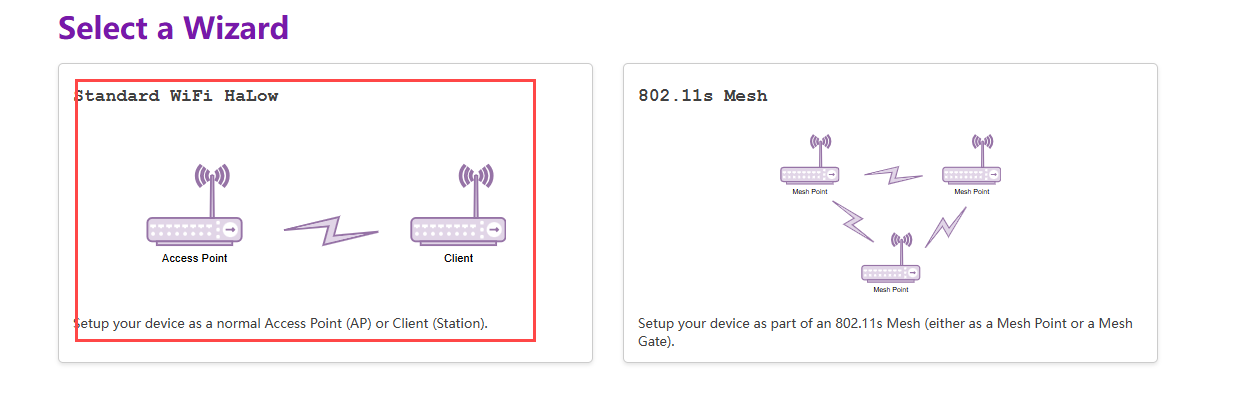
- Select Access Point mode and click
Next.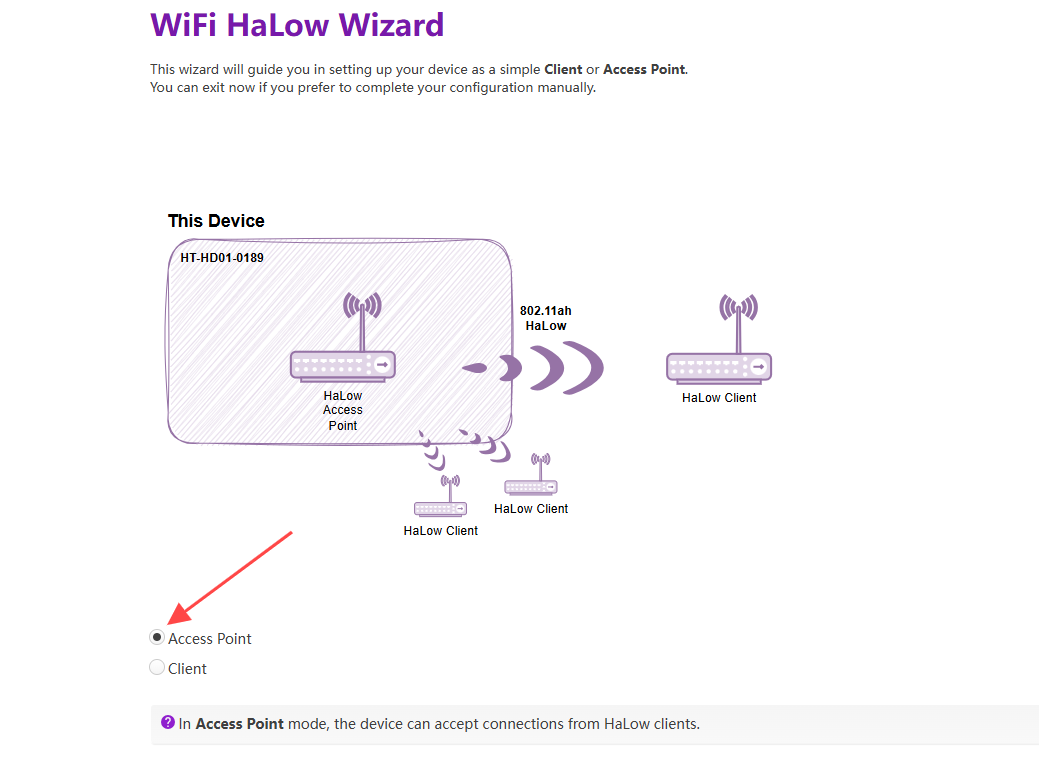
- Set the parameters for the HaLow hotspot and click
Next: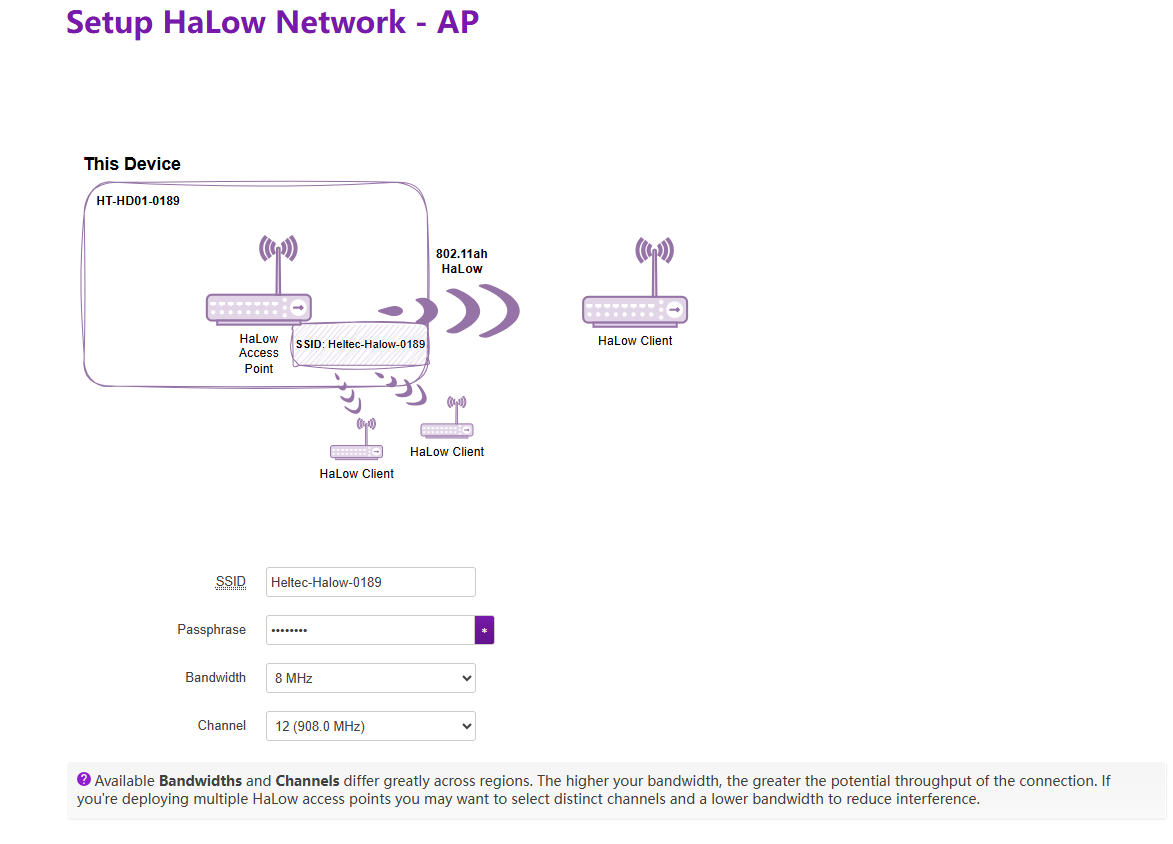
- SSID — Wi-Fi HaLow hotspot name. The STA must establish connectivity through it.
- Password — Wi-Fi HaLow hotspot password.
- Bandwidth — different bandwidth configurations affect signal coverage, data transfer rate, and interference resistance. Narrower bandwidths (e.g., 1 MHz) offer better coverage and lower power consumption, while wider bandwidths provide higher data rates but have shorter range and higher power consumption.
- Channel — each bandwidth has specific frequencies as its channels. When there are other Wi-Fi HaLow devices in the area, you can reduce interference by setting different channels.
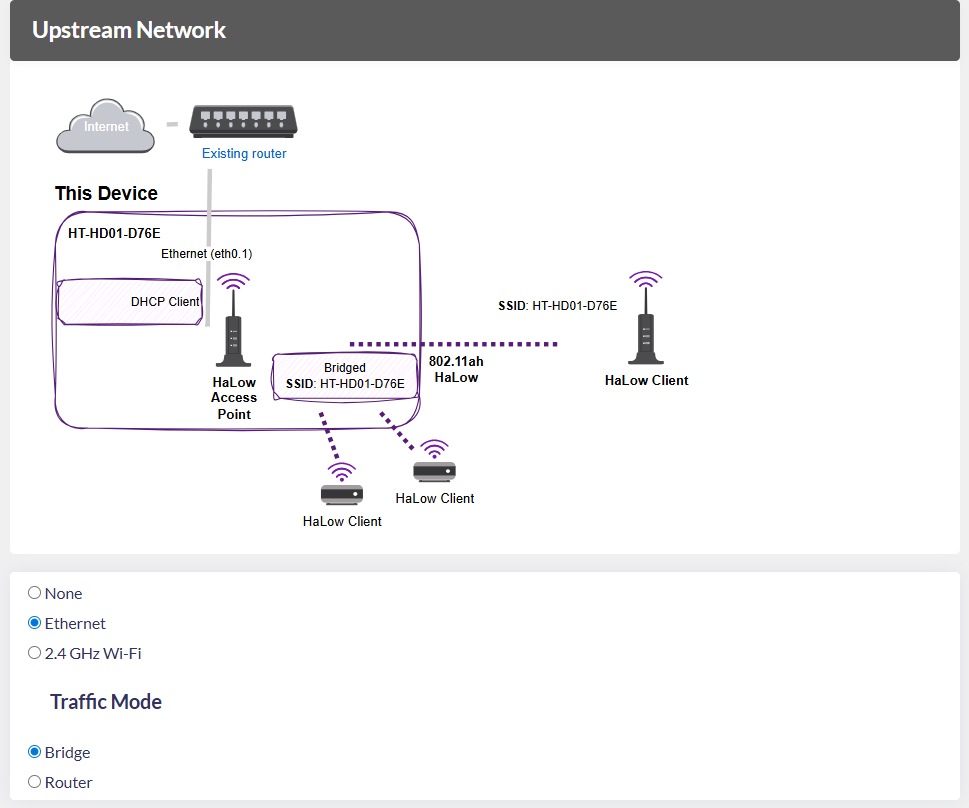
- Select the Upstream Network. You can choose from three upstream network modes:
- None
- Ethernet
- Wi-Fi
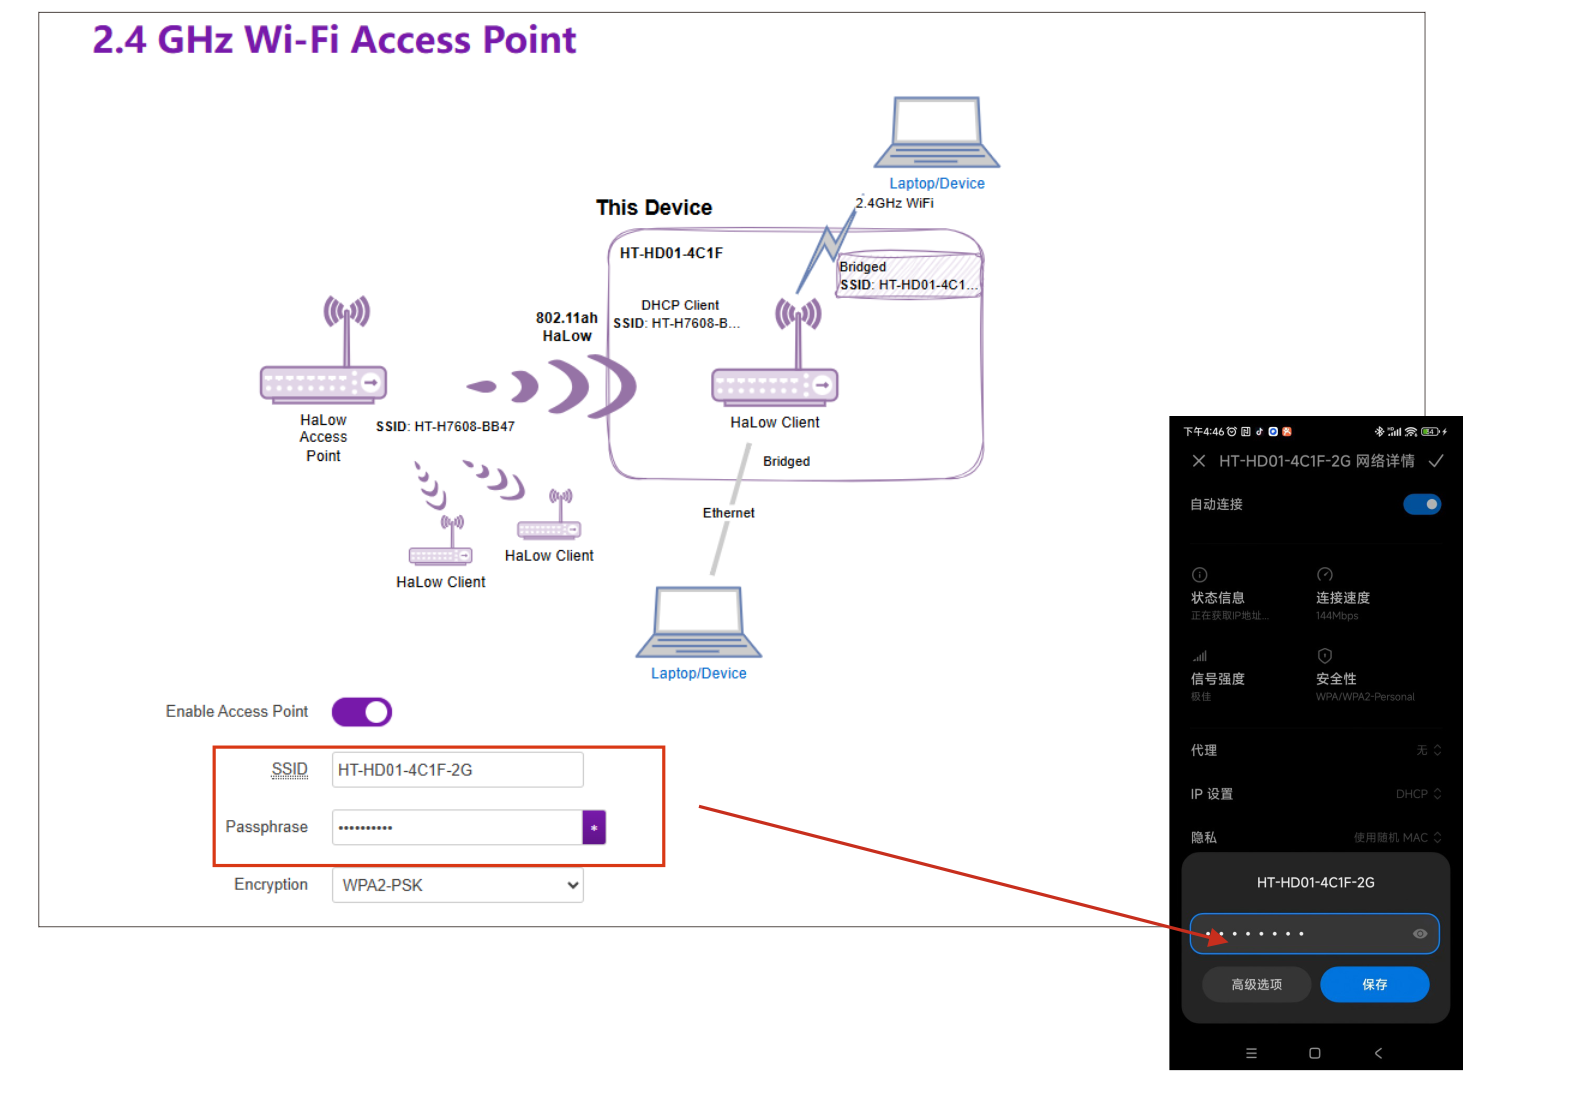
- This HaLow device is also capable of 2.4 GHz Wi-Fi. If you enable a 2.4 GHz Wi-Fi Access Point, you will be able to connect 2.4 GHz Wi-Fi clients to this device. You can set the SSID, password, and encryption for the 2.4G network here.
- Click "Apply" to complete the device configuration.